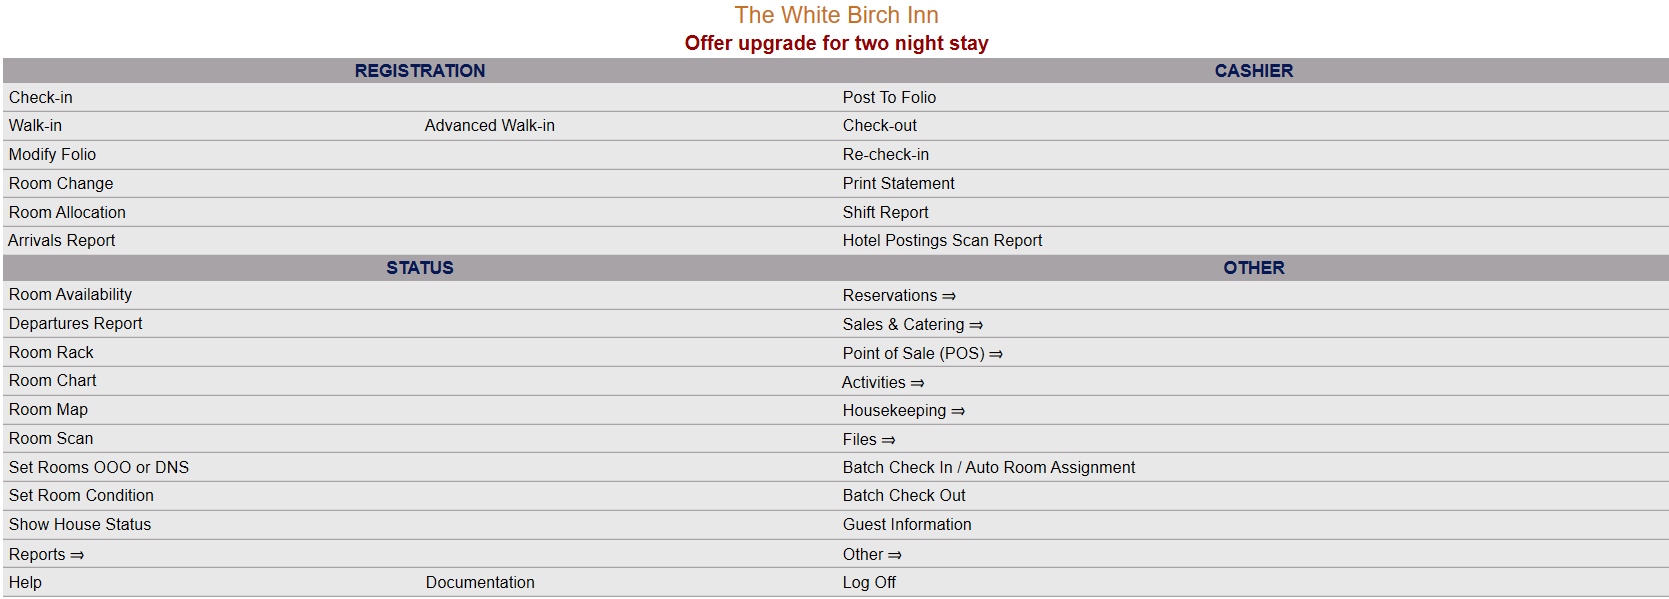
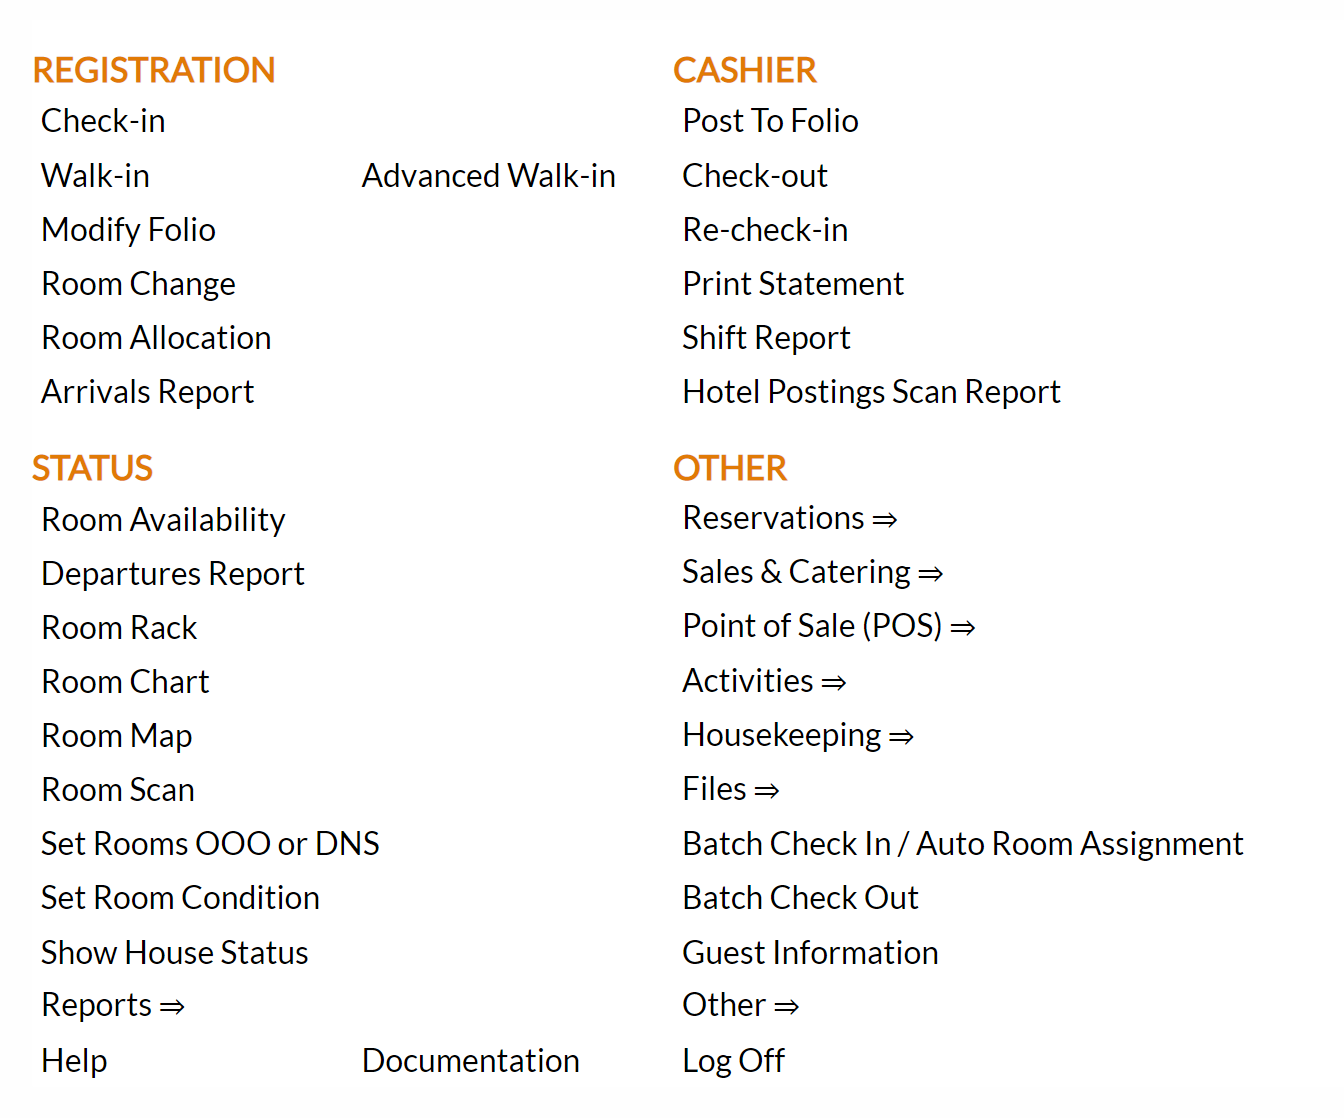
click Files => from the Other section of the Full Menu.
Select Files => from the Other section.
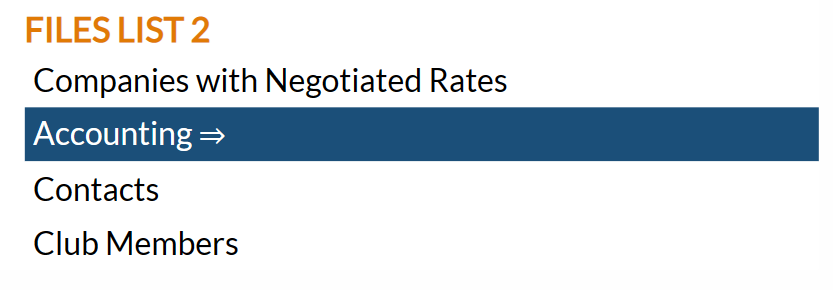
The Files Menu is divided into two sections, Files List 1 and Files List 2.
Select the Accounting => command from the Files List 2 section.
The Accounting Menuis divided into two sections, General and Reports.
Select the Accounts Receivable Batch Payments command from the General section:
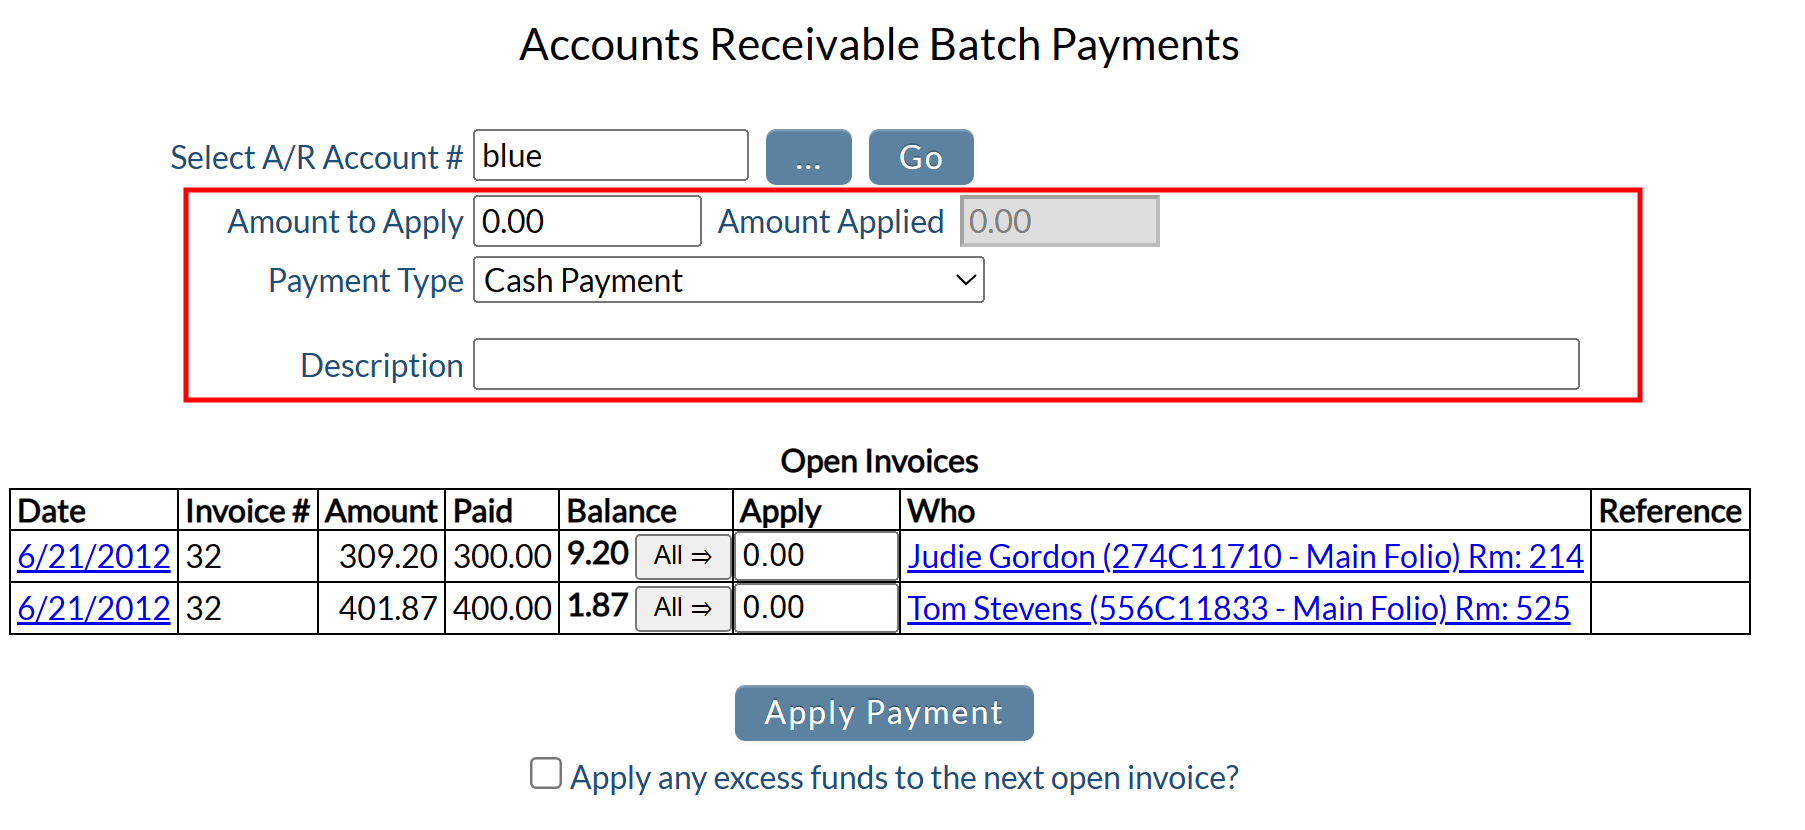
When selected, the Accounts Receivable Batch Payments screen will open.
Select A/R Account #: You may type in the A/R account directly into this field or you may click on the box next to the field to open a separate window listing all Accounts Receivable Accounts currently in Skyware. Click on the appropriate line entry to automatically enter the account into the field and close the pop up window.
All open invoices for the selected account will appear listed below the data fields (in the Open Invoices section of the screen), allowing you to easily see and select the appropriate invoices.
Note: If NO invoices are outstanding for the account, in the Open Invoices section instead a message informing you that there are no invoices to process (for the selected account) will appear.
If the A/R account has open invoices against it, this screen may be used to enter payments towards the invoices.
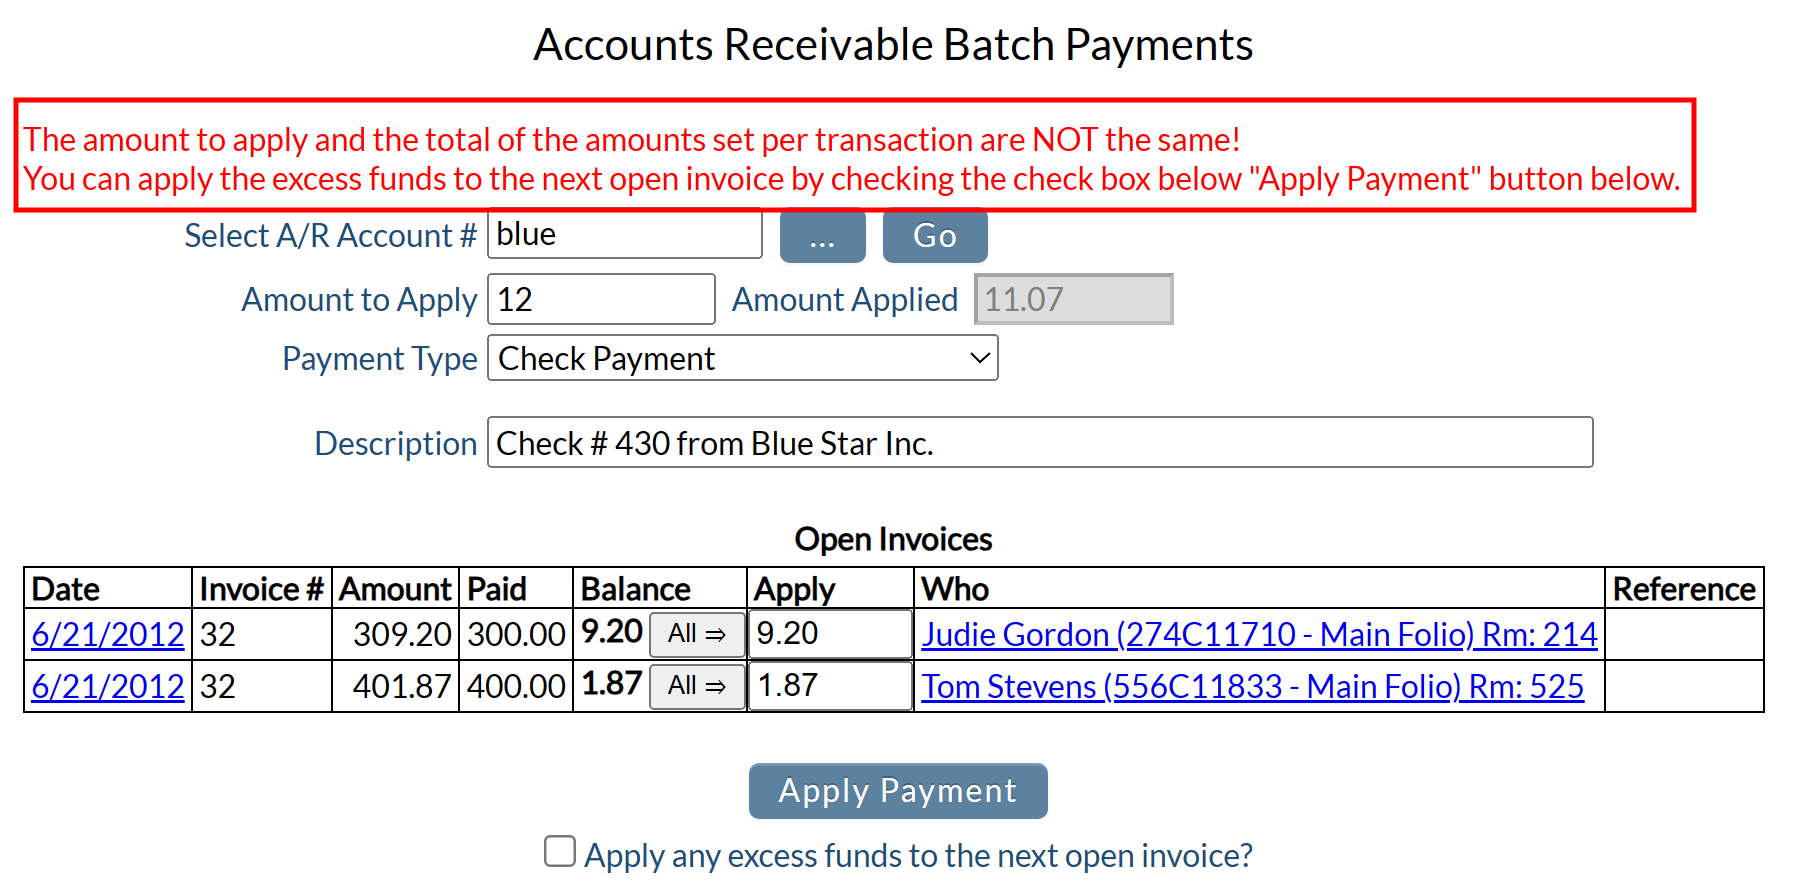
Amount to Apply: Enter the total amount to be applied (this is the total amount that will be spread between all the listed open invoices).
Amount Applied: This field is automatically generated using the values entered in the Apply field of the individual open invoices.
Payment Type: Select the Payment Type from the drop-down list of available options.
Description: Enter a description of the payment (check number, any other pertinent information).
Open Invoices: This section shows any open invoices associated with the account, including the date the invoice was generated (which may be clicked to open the invoice transactions screen, which lists all transactions that occurred on the specific date), the invoice number, the amount of the specific invoice when it was generated, the total paid towards the invoice, the balance still due, the apply field (used to apply the payment to the invoice), the guest/folio/stay the balance is associated with (which may be clicked to open the Posting Screen and Statement screen for the specific folio) and any reference for the invoice that has been added.
Enter the amount going towards each individual invoice in the separate Apply field for each invoice.
This may be done using the "All =>" button which appears next to the amount due in the Balance field, and when clicked will automatically complete the Apply field with the total balance due for the invoice, or manually by typing the desired amount in (if the amount to be applied to the invoice balance is NOT the total outstanding balance you MUST enter the amount manually).
When an amount has been entered into the Apply field of any individual invoice, the "Amount Applied" field will display the total amount entered, adding any entered values together for a total.
Note: Again, the Amount Applied field is generated AUTOMATICALLY using the individual amounts in the Apply field(s). It cannot be altered manually except by altering the amount(s) entered within the Apply field(s) of the open invoices.
When finished, click Apply Payment.
The specified amount is then applied to each invoice and where appropriate, marked as paid.
Note: If the amounts in the Amount to Apply and Amount Applied fields DO NOT MATCH, the payments will NOT be applied; instead you will see a pop up message on the screen appear telling you they are not the same.
If the amounts in the Amount to Apply and Amount Applied fields do not match BUT the amount in the Amount to Apply field is GREATER than that in the Amount Applied field, as well as the pop up message on the screen appear telling you they are not the same, you will ALSO see a message telling you that the excess funds can be applied to future invoices.
This may be performed by checking the "Apply any excess funds to the next open invoice?" check box below the Apply Payment button.
With this box checked, when the Apply Payment button is clicked, the specified amount is applied to each invoice and where appropriate, marked as paid, with the excess funds being applied automatically to the next open invoice for the account.

